Radishes from Sowing to Harvest
What’s the most opportunistic crop you could possibly grow? For me it’s the humble, lowly radish – or rather the rousing, ravishing radish! Squeeze a sneaky row or two between larger vegetables. Sow them around crops that are about to finish. Grow them in pots, or squeeze in an extravagantly early or late harvest of these peppery roots. They’re super fast, super flexible – oh, and super yummy! So let’s crack on and sow some!
Where to Grow Radishes
Because of their size and speed, radishes may be grown just about anywhere. But ready to enjoy in as little as four weeks and taking up minimal space, perhaps their best use is as a fill-in crop, either between or within rows of slow-to-germinate vegetables such as parsnip, or as a quick, in-and-out crop right at the start or end of the growing season.
Radishes prefer full sun but grow well in part shade too and in hot climate will prefer full shade in the height of summer. Keep the soil moist and you’ll be rewarded with clusters of mildly peppery roots in next to no time.
Sowing Radishes Early into Plug Trays
Begin sowing under cover from late winter, either direct into containers of potting soil or into greenhouse borders, or into plug trays of general purpose potting mix.
Fill plug trays with potting mix, firm down then sow a pinch of three to five seeds per module. Cover with a little more of the potting mix then water. If it’s especially cold, you'll need to germinate them indoors then move them back into a greenhouse or cold frame as soon as the seedlings appear. After a couple of weeks of sheltered growth, and once the seedlings have filled out their modules, they'll be ready to plant out under row covers or hoop houses.

Plant into soil earlier enriched with well-rotted compost or manure and raked to a fine tilth. Remove the clusters of seedlings from their modules then dibber a hole for each plug. Drop in the plug and firm it into position so each cluster’s about 6in or 15cm apart in both directions. Cover the seedlings with row cover or horticultural fleece, properly held down at the edges, until the weather warms up.
Sowing Radishes Direct
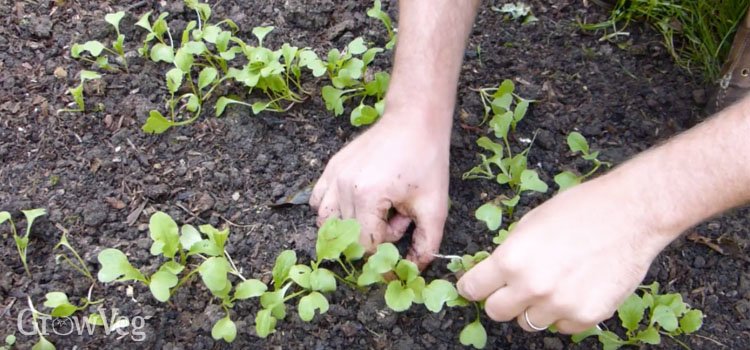
Of course, sowing radishes directly where they are to grow is the easiest way to start them off. As cool-season crops, some radishes can germinate at temperatures as low as 41 Fahrenheit or five degrees Celsius. Sow from very early spring, initially under row covers or hoop houses, spacing rows about 8in or 20cm apart. Sow thinly along the row – ideally so seeds end up spaced around half an inch or one centimeter apart. Water if it’s dry then, about a week after germination, thin the seedlings to leave them an inch or 2cm apart within the row.
Sow a row or two every couple of weeks during the growing season to maintain a steady supply of roots, fitting them in wherever there’s space.
Grow Some Radishes for Winter
Many hardy radishes can be sown towards the end of summer to give an autumn or early winter harvest of roots. Sowing regular red, round or white-tipped radishes into containers is a great way to extend the season – by simply bringing pots under cover when the weather turns cold.

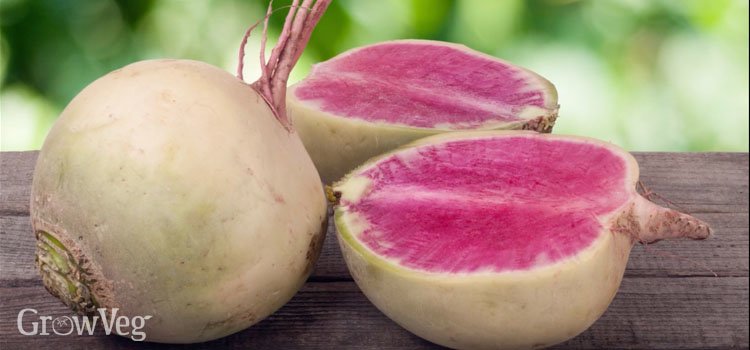
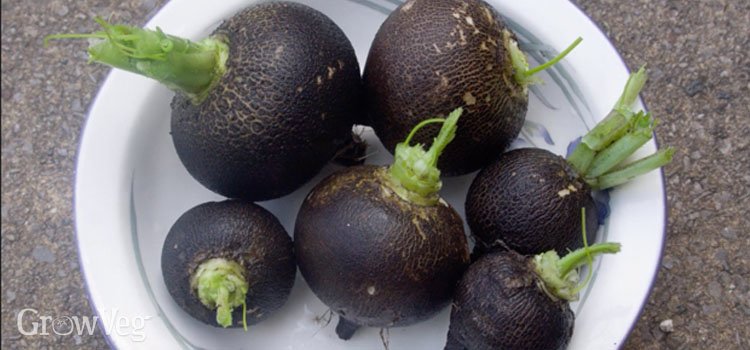
Another option is to grow bigger winter or Asian varieties of radish, which naturally prefer cooler temperatures. Most popular is the daikon or Japanese mooli radish. Look out for Chinese and Korean varieties too – all with a mild flavor ideal for salads but also great in soups and stews. Then there’s the stunning watermelon radish, or the chunky, spicy Spanish Black radish whose peppery tang holds up well in stir-fries.
Winter radishes are leafier than their summer cousins. The spicy leaves may be used like spinach, wilted into hot dishes or even whizzed up in a pesto.
Sow winter radishes a little further apart, so rows are at least a foot or 30cm distant, then thin the seedlings to leave at least a couple of inches or 5cm between each plant.
Caring for Radishes
Keep on top of weeds because radishes don’t like competition. Thinning seedlings and harvesting the first roots are good opportunities to hoik out weeds at the same time. And make sure to water thoroughly once or twice a week in dry weather to stop the roots from becoming woody and unbearably peppery.

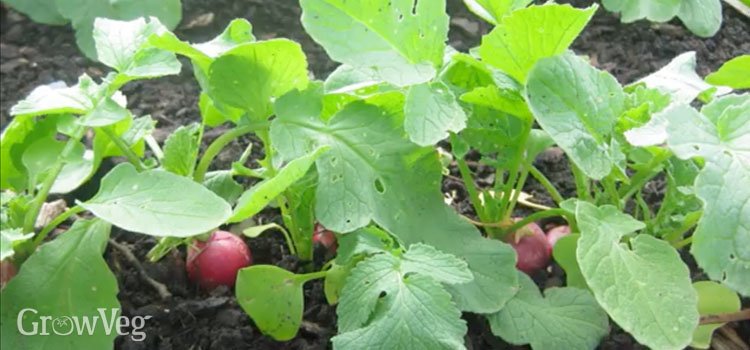
Radishes may attract flea beetles from spring to midsummer. You’ll probably not see the flea beetles themselves but you’ll know they are there by the numerous tiny holes pitted into the leaves. Avoid this damage by covering radishes with row covers or fine insect mesh, or by simply delay sowing till the second half of summer.
How to Harvest Radishes
Harvest roots as soon as they have reached their final size. Don’t delay, as they can go from crisp and crunchy to woody and excessively spicy within a matter or days. Lift the biggest roots each time you harvest, so the remainder can continue to swell.
Winter radishes take up to ten weeks to mature but once ready can be left where they are to lift as needed, so long as the ground doesn’t freeze solid. Or lift them, cut off the foliage then store in the refrigerator, where they should keep for up to a month.

If you’re looking for something both trouble-free and a genuine pleasure to grow, radishes should be right up your street. Root out your radish anecdotes – drop us a comment below and tell us how you fit them into your garden and whether you’ve tried growing varieties of winter radishes; we’d love to know.


